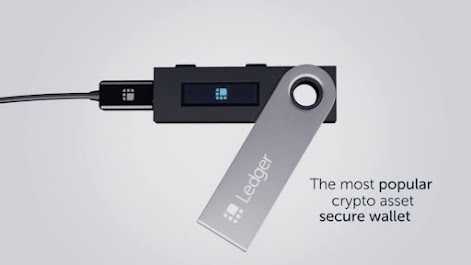
Connecting Ledger hardware wallet to MetaMask in easy steps
Transacting and performing trade operations by transferring crypto funds or by connecting your wallet to another wallet are some of the basic practices that are involved in the world of crypto. Basically, there are two types of crypto wallets- hardware wallets and software wallets.
You might
know how to function them solely but do you know how you can function by
connecting them?
A Ledger hardware wallet is trusted by millions of people around the world for
performing trade operations. It is considered safer as compared to the software
wallet, and it generally functions by getting paired up with the Ledger Live Wallet software app.
You might
be well aware of the general tasks that you can perform through this wallet,
but here, with this read, we are going to elucidate the complete series of
steps that you need to take to connect the Ledger ETH account with the
MetaMask, a software crypto wallet.
Preparations to do before you connect the Ledger ETH account with
MetaMask
Before
initiating the process of connecting the Ledger ETH account with the MetaMask,
investors need to take a couple of actions to ensure a smooth process ahead. Thus,
relating to this, if an investor does not have a MetaMask account then he needs
to create one by installing an extension of it from its official website.
Out of
all the supportive MetaMask extensions, the one that is highly used and
recommended is the Google Chrome extension. One point to be noted here is that
try not to import the 24-word recovery phrase of the Ledger into MetaMask, otherwise,
you might lose your crypto funds.
The guiding actions to connect Ledger with MetaMask
In order
to connect your Ledger wallet to the MetaMask, you need to perform the
following set of actions:
1.
Start by plugging your Ledger hardware wallet into the computer
2.
Next, open the Ethereum app on your device and move toward the
“Ethereum” icon, and press both buttons simultaneously
3.
A notification reading “Application is Ready” will get displayed
on your hardware device
4.
Tap on the account settings to open it and then click on “Hardware
Wallet”> “Ledger”> “Continue”
5.
After a while, a list of accounts will appear displaying your
Ledger accounts
6.
From the appeared list, select an account by marking a tick in the
relevant box
7.
Click on the “Unlock” tab
8.
Done! With this your Ledger Ethereum account will be displayed in
MetaMask along with the ETH balance that your account is holding
How can I get to know whether an account is connected to MetaMask?
Relating
to this process, a number of investors have asked questions relating to how can
they identify if an account is connected with the MetaMask or not. Thus, when
an account gets connected with the MetaMask it gets reflected with the “Ledger”
tag.
Closing Thoughts
Thus,
through the above read, you might have gotten the highlighted steps involved in
connecting the ETH account of your Ledger hardware wallet to MetaMask. But,
before you perform any of those actions, just ensure that you have installed a
legitimate MetaMask extension. The Ledger device functions by getting paired up
with the Ledger Live wallet (a software
app of Ledger). For any concern or query relating to the working of the Ledger
device, visit the “Support” section of the wallet and get the answer to your
questions. In case you didn’t get an answer to your query, then you can connect
with the support team of the Ledger and share your concerns with them.


Comments
Post a Comment